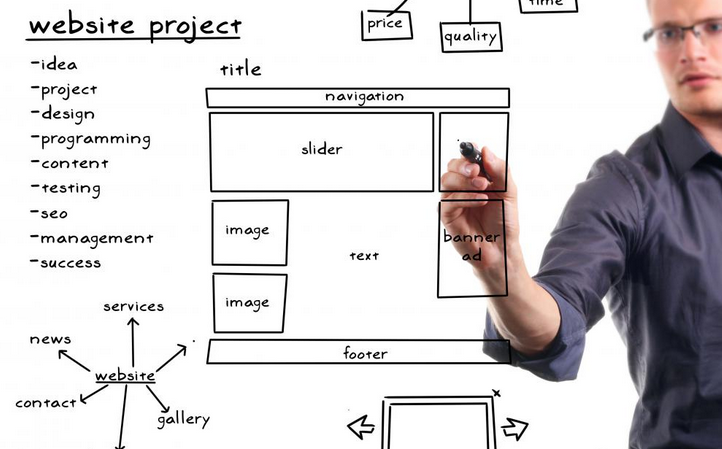
 Are you thinking of building a new website for you or your organization? There are literally millions of ways to make websites, depending upon the costs and functionality desired. From hiring professional website builders for thousands of dollars to using free do-it-yourself (DIY) tools, there are many ways to create a website for free. However, if you are thinking about making a simple yet a wonderful website for free, there are companies that offer tools that make this task easy for you. What is important is to know what to do once you found a website that allows you to build your own website for free. Follow the 8 simple steps below to create a website for free:
Step 1: Check Out Reviews
Take the time to read the different reviews found on the net when it comes to companies giving free DIY web building programs. Because there are so many websites that allow you to create your own page, it can be challenging to know which one is the best. Reviews all over the web is quite helpful. Once you find what you are looking for, log in the desired website builder page. If you are required to create an account before you can start building your website, do this first.
Step 2: Click Start Now
On the home page of the website, look for the button that says ‘Start now’. Click on the button.
Step 3: Choose Your Desired Template
This is where the really exciting part of your website building mission begins. You will now reach a second page with three options. The 1st option on the page is called ‘Choose a template’. Click on the option and then a new page will open with links to hundreds of templates. Before choosing your templates, be clear about what sort of website do you want to create. Most of the time, you are given different specialized templates to match the needs of professionals from many sectors. For instance, if you are in the Restaurant business, you can choose from several expertly built website templates that suit the needs of the restaurant industry.
Step 4: Customize The Template
While, most of the templates are very clean and instantly ready to use, you have the option to tweak those websites a little bit to match your personality. This is called “customization” of the template. From setting the background colors to specific colors for the borders, you can do this easily.
Step 5: Add The Elements, Texts And Widgets
Here is the part where you need to make some worthy effort. From the simplest of actions to the most advanced ones, building your website gets an entirely different turn with the editing feature. Most of the time, a website builder comes with a simple drag and drop function which enables you to add elements like pictures, videos and widgets effortlessly even if you don’t have any previous technical experience. Select the elements like pictures, videos and special forms that you want to put on the website. You need to be careful that the elements actually match up with the themes and colors of your website. The tool also allows you to build galleries and slideshows from your pictures. Once you are done, you can now add the necessary texts on your website. Most sites come with a text editor that allows you to easily change the looks and the size of your text, however you like it to be. Finally, you can add exciting widgets to your website. There are different widgets readily available like for example, social networking tools like Facebook and Twitter. There are other widgets like Vimeo and Soundcloud through which you can also put audio and video services to your website.
Step 6: Finalize The Settings
When you are done with all your website building work, it’s time for some final polishing. In this part you decide the dimensions of your website so that it’s optimally viewable for your audience across different platforms. Also decide the background color and the icon of your website.
Step 7: Getting An Address
The good thing about free website builders is the fact that you can have your own web address without paying for space and domain names. However, if you want a customized domain name with more options, be prepared to pay a minimal amount.
Step 8: Publishing
Finally, it’s time to publish your website on the internet. You also have the option to set up Google Analytics before publishing – if you are targeting future ads. By simply clicking on the publish option, your website is now on the internet.
Final Words
You don’t have to be a professional web designer or developer to do this. You don’t even have to pay thousands of dollars to create one. With these easy steps, you can now easily create your first website free!

July 17, 2015 1:15 pm
Very helpful and informative article! When I design my website I used this tool http://mobirise.net/ . With a drag and drop interface I has saved my time. It’s really easy and no technical skills required.